
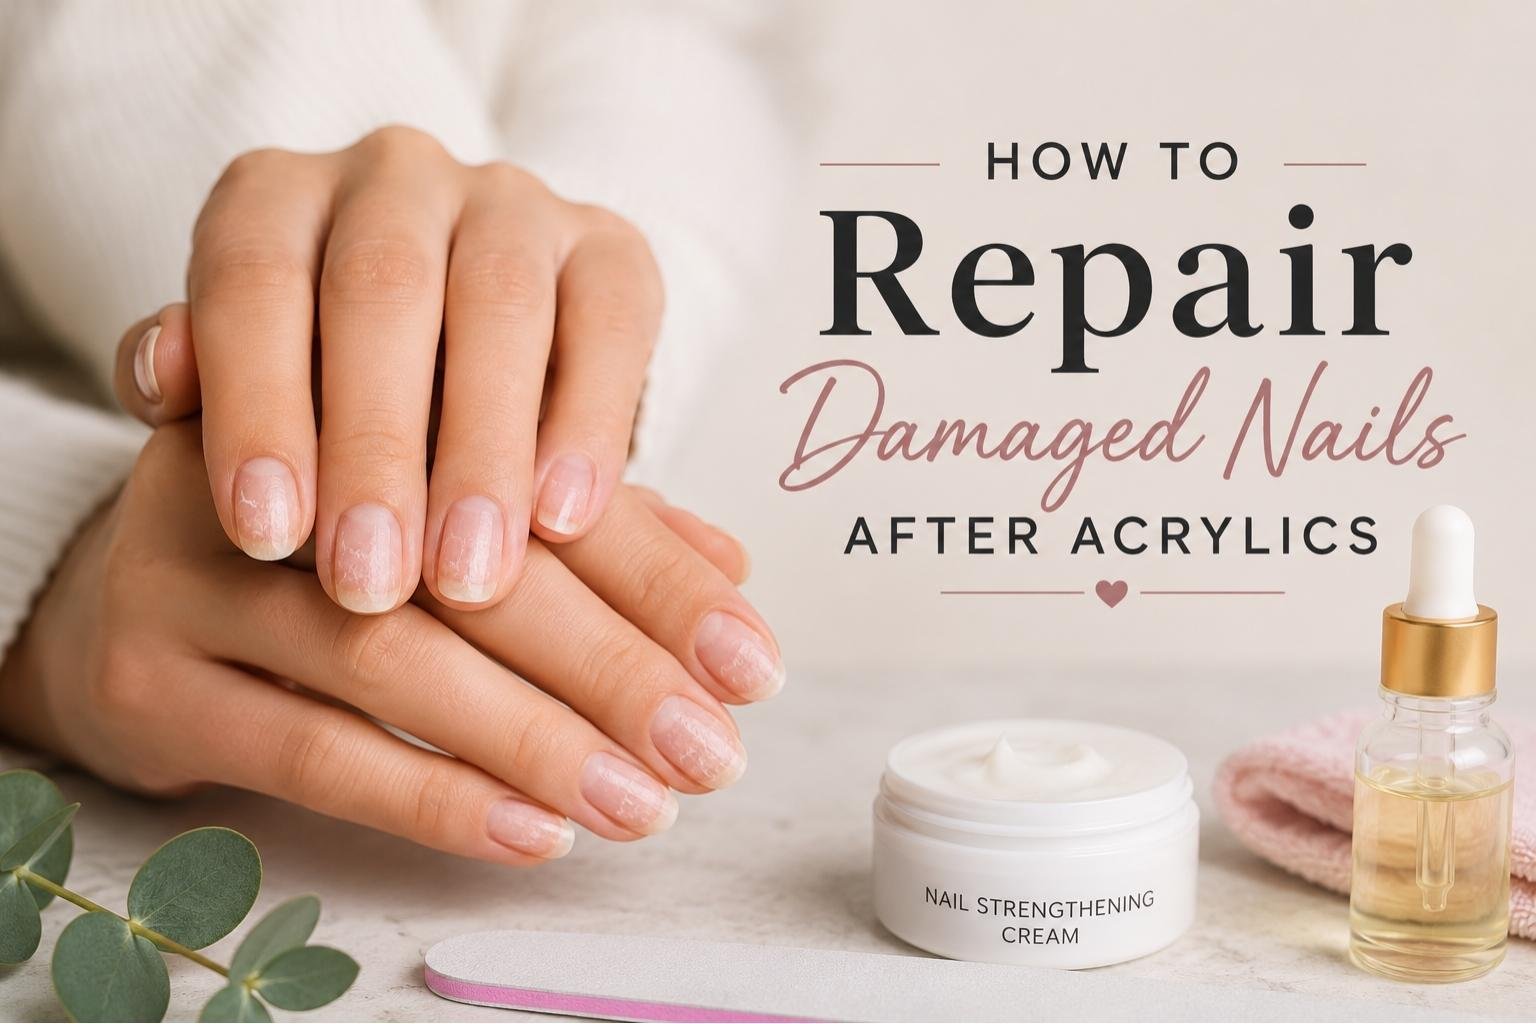
If you’ve recently taken off your acrylics and your natural nails look thin, peeling, or almost translucent, you’re not alone. Learning how to repair damaged nails after acrylics is one of the most common nail concerns beauty pros hear about.
The good news: nail recovery after acrylics is absolutely possible. With the right routine, you can restore nail health after acrylics and grow back strong, beautiful nails faster than you think.
Damaged nails from acrylics often result from the application and removal process, which thins the nail plate. How to fix nails after acrylics comes down to three things: protection, hydration, and patience.
Why Do Acrylics Damage Your Nails?
Before you can fix the problem, it helps to understand what caused it.
Acrylic nails bond to your natural nail plate using primers and adhesives. The filing process required to prep the nail and later remove the acrylic physically thins the nail layer.
According to the American Academy of Dermatology, repeated filing and the chemicals in acrylic products can weaken the nail plate and cause brittleness, peeling, and even separation from the nail bed, a condition called onycholysis.
Improper removal is the biggest culprit. When acrylics are pried or pulled off instead of properly soaked in acetone, layers of your actual nail come off with them. That white, chalky, bendy nail you’re left with is the result.
The nail plate does not have live cells, so it cannot “heal” in the traditional sense. What you are doing during recovery is protecting what is there while your nail bed grows out fresh, undamaged nail from the base.
How Long Does Nail Recovery After Acrylics Take?
Most people see noticeable improvement in 4 to 6 weeks, but full recovery takes as long as it takes for your nails to grow out, which averages 3 to 6 months.
According to research published in the Journal of Investigative Dermatology, fingernails grow approximately 3.5 mm per month. That means if the damage extends from the base to the tip, you are looking at roughly 4 to 6 months for a full replacement cycle.
The steps below will make that window shorter and more comfortable.
See more: Stop Scrolling If You Love Jelly Nail Ideas
Step-by-Step: How to Fix Nails After Acrylics
Step 1: Give Your Nails a Break From All Enhancements
This one is non-negotiable: no gel, no dip, no press-ons for at least 4 weeks. Your nail plate needs to breathe and build thickness before any new product is applied. Even regular nail polish should be used sparingly during the first two weeks.
Step 2: Trim and File Down to a Manageable Length
Short nails break less. Use a fine-grit file (180 grit or higher) and file in one direction only. Back-and-forth sawing motion creates micro-tears in an already compromised nail edge. Keep nails just above the fingertip so there is nothing to snag or snap.
Expert Tip: A crystal or glass nail file is one of the best investments for damaged nails. Unlike emery boards, glass files seal the nail edge as they smooth it, which reduces peeling and splitting. Nailpin has a curated selection of professional-grade nail files worth bookmarking.
Step 3: Hydrate Daily With Cuticle Oil
The nail plate is porous, and one of the fastest ways to reduce brittleness is to apply oil consistently. Look for oils containing jojoba, vitamin E, or sweet almond oil. These penetrate the nail plate and surrounding skin, improving flexibility and reducing breakage.
Apply cuticle oil at least twice a day: once in the morning and once before bed. Massage it into the nail plate itself, not just the cuticle.
The American Academy of Dermatology specifically recommends keeping nails moisturized as a core nail health practice.
Step 4: Use a Strengthening Base Coat or Treatment
A nail hardener or strengthening treatment acts like a cast for weak nails. Products with ingredients such as hydrolyzed wheat protein, calcium, or biotin-based formulas help reinforce the nail plate as it grows.
Apply a thin coat every 2 to 3 days. Remove it with a non-acetone remover (acetone dries out an already dehydrated nail), reapply, and repeat.
Nail techs commonly recommend products like OPI Nail Envy or Orly Nail Defense as solid starting points. Look for “formaldehyde-free” on the label if your nails are very thin, as formaldehyde-based hardeners can sometimes cause brittleness with overuse.
Step 5: Wear Gloves for Wet Work
Water is surprisingly harsh on damaged nails. Repeated soaking and drying cause the nail plate to expand and contract, accelerating peeling and cracking. Dish soap is especially drying.
Wear rubber gloves when washing dishes, cleaning, or during any prolonged exposure to water. It sounds like a small thing, but it makes a measurable difference within the first two weeks.
Step 6: Support Recovery From the Inside
Nail strength is partly genetic, but nutrition plays a real supporting role. Research covered by Harvard Health Publishing shows that biotin (vitamin B7) supplementation can improve nail thickness in people with brittle nails. A dose of 2.5 mg per day is what most clinical studies have used.
Beyond biotin, prioritize protein, zinc, and iron in your diet. Nails are made of keratin, which is a protein, and deficiencies in these nutrients directly affect nail growth quality. The National Institutes of Health Office of Dietary Supplements confirms biotin’s role in keratin infrastructure. If you suspect a deficiency, a simple blood panel from your doctor will confirm it.
Product Recommendations for Nail Recovery
Here are the types of products worth using during your recovery window:
- Cuticle oil: Any oil rich in jojoba or vitamin E. Apply twice daily, minimum.
- Strengthening base coat: OPI Nail Envy, Orly Nail Defense, or Sally Hansen Hard as Nails.
- Non-acetone remover: Zoya Remove+ or any soy-based formula.
- Glass nail file: Crystal Nails or Bona Fide Beauty glass files.
- Rubber gloves: For any wet housework.
- Biotin supplement: 2.5 mg daily, after checking with your doctor.
Nailpin.com carries hand-picked nail care tools and products that pair well with a recovery routine. More on that below.
What to Avoid While Your Nails Recover
- Peeling or picking at lifting nail layers (it removes healthy nail with it)
- Acetone-based removers are used frequently
- Skipping the base coat if you do wear polish
- Growing nails long before the nail plate has had time to rebuild
- Skipping gloves during cleaning or dishwashing
See more: Prom Nail Ideas
Frequently Asked Questions
How long does it take to repair damaged nails after acrylics?
Most people see meaningful improvement in 4 to 6 weeks with a consistent care routine. Full recovery, meaning completely new nail growth from base to tip, takes 3 to 6 months, depending on how fast your nails grow. Consistency with hydration and protection makes a significant difference in how quickly your nails feel normal again.
Will my nails ever go back to normal after acrylics?
Yes. Because the nail plate grows from the base, called the nail matrix, new, undamaged nail continuously replaces the damaged portion. As long as the nail matrix itself was not injured, your nails will return to their natural thickness and strength. Protecting the new growth during this period is key.
Is it okay to wear nail polish while recovering from acrylic damage?
Light use of regular nail polish with a strengthening base coat is generally fine after the first two weeks. Avoid gel polish or dip powder until your nails have noticeably regained thickness. Always use a non-acetone remover and give your nails a day or two bare between manicures.
What is the best product for repairing nails after acrylics?
Cuticle oil applied twice daily is the single most impactful product for damaged nails. Beyond that, a strengthening base coat like OPI Nail Envy, used consistently, provides a protective layer as your nails grow. A glass nail file to prevent further edge damage rounds out the basics.
Can I get a gel manicure while my nails are recovering from acrylics?
It is better to wait. Gel requires UV curing and a base coat application, adding another removal step to already-thin nails. Most nail techs recommend at least a 4-week break from all enhancements. If you want color during recovery, regular nail polish over a strengthening base coat is the gentler option.
Your Nails Will Come Back Stronger
Repairing damaged nails after acrylics takes more consistency than it does expensive products. Hydrate daily, protect from water and breakage, keep them short, and let time do the rest. Most people who stick to the steps above are genuinely surprised by how quickly things turn around.
Ready to stock your nail recovery kit?
Visit Nailpin.com for curated nail care tools, strengthening products, and nail inspiration to carry you from recovery all the way to your next look. Your best nails are already on their way.